Title here
Summary here
Robo Gallery allows you to use custom HTML code inside gallery items. This makes it possible to create more advanced layouts, buttons, links, and formatted content inside hover overlays.
Custom HTML can be used in two places:
Each image in Robo Gallery contains several metadata fields:
The Description field supports HTML.
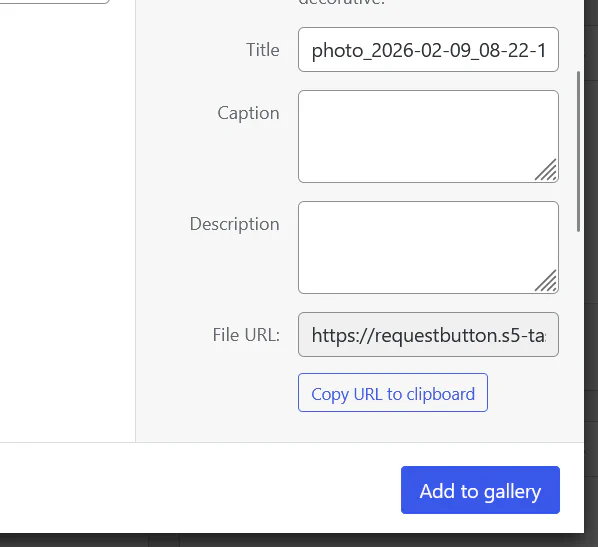
You can open an image in the Media Manager and add HTML directly inside the Description field.
<strong>Summer Collection</strong><br>
<a href="https://example.com">View details</a>
This allows you to add:
HTML is also supported inside the Hover Template in Classic Grid galleries.
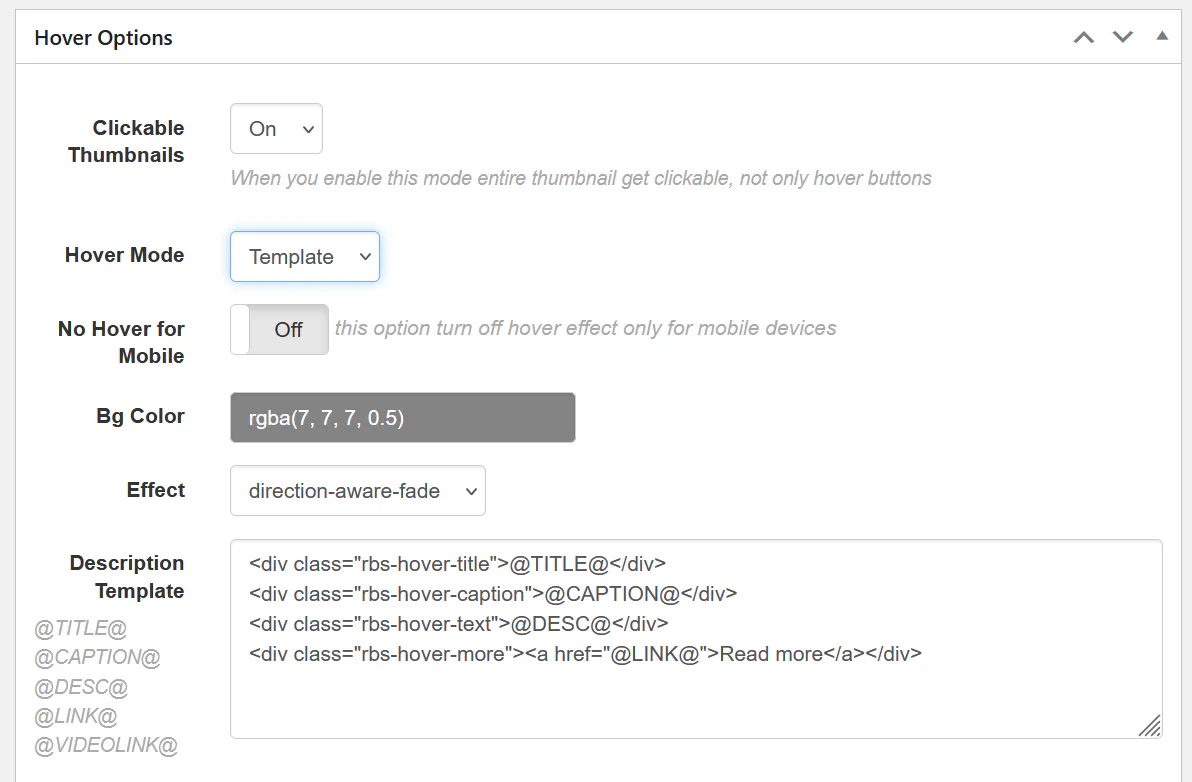
Example hover template:
<div class="rbs-hover-title">@TITLE@</div>
<div class="rbs-hover-text">@DESC@</div>
<div class="rbs-hover-more">
<a href="@LINK@" class="gallery-button">Read more</a>
</div>
Here the @DESC@ variable will render the HTML content stored in the Description field.
You can create buttons inside hover overlays.
Example description HTML:
<a class="gallery-btn" href="https://example.com">Open Project</a>Example CSS:
.gallery-btn{
    display:inline-block;
    padding:8px 14px;
    background:#2b7cff;
    color:#fff;
    border-radius:4px;
    text-decoration:none;
}Custom HTML is useful when you want to:
Using custom HTML together with Hover Templates gives you full control over how information is displayed in the gallery.