Title here
Summary here
Once Robo Gallery is installed and activated, you can begin creating your first gallery in just a few clicks.
You can manage and create galleries from two locations:
Click the Add New Robo Gallery button to create a new one.
When you create a new gallery, a gallery type selection dialog will appear. Robo Gallery offers several layout types:
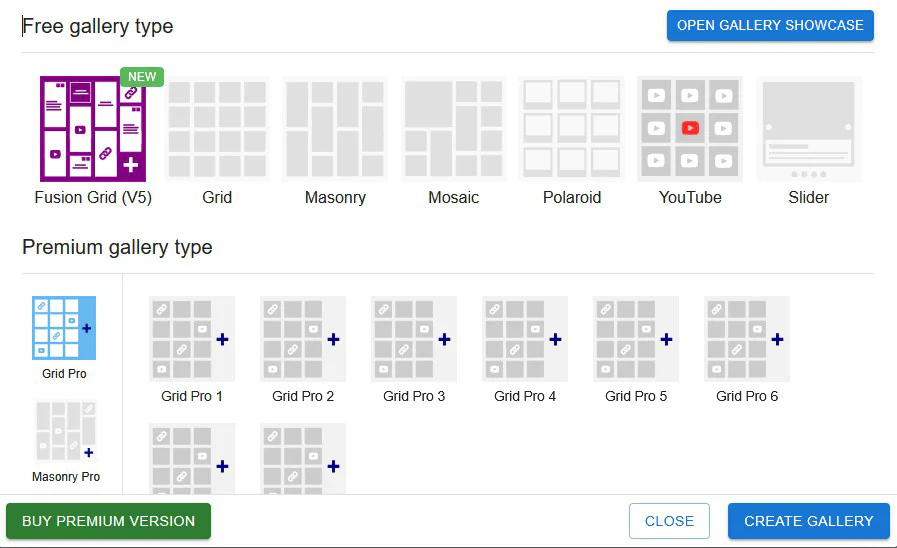
Choose the type that fits your project, then click Create Gallery.
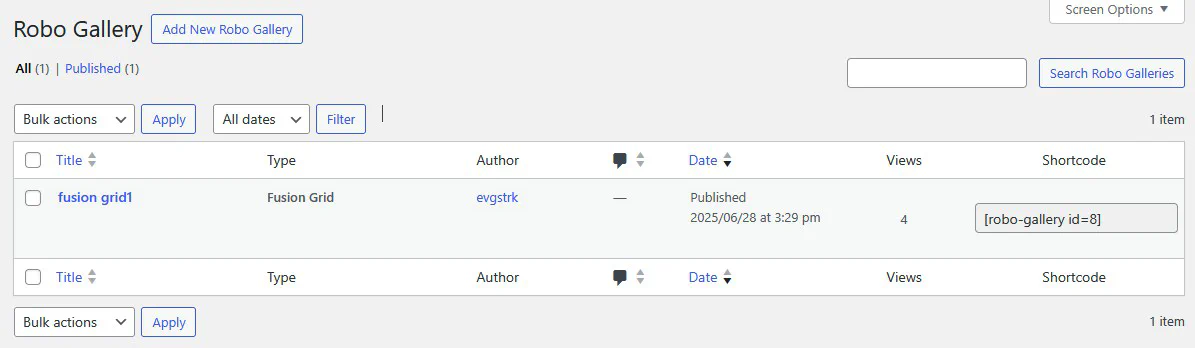
After creation, your galleries will be listed in the Manage Gallery view:
Once your gallery is created, you can begin uploading images and customizing layout, hover effects, filters, lightbox, and more. Follow our Create Your First Gallery Guide to continue.
Need help? Contact our support team.