Title here
Summary here
Uploading images to your gallery is the first step in creating a beautiful and functional image presentation. RoboGallery makes this process simple and intuitive.
To begin adding images to your gallery, click the Manage Images button in the Images section of your gallery editor.
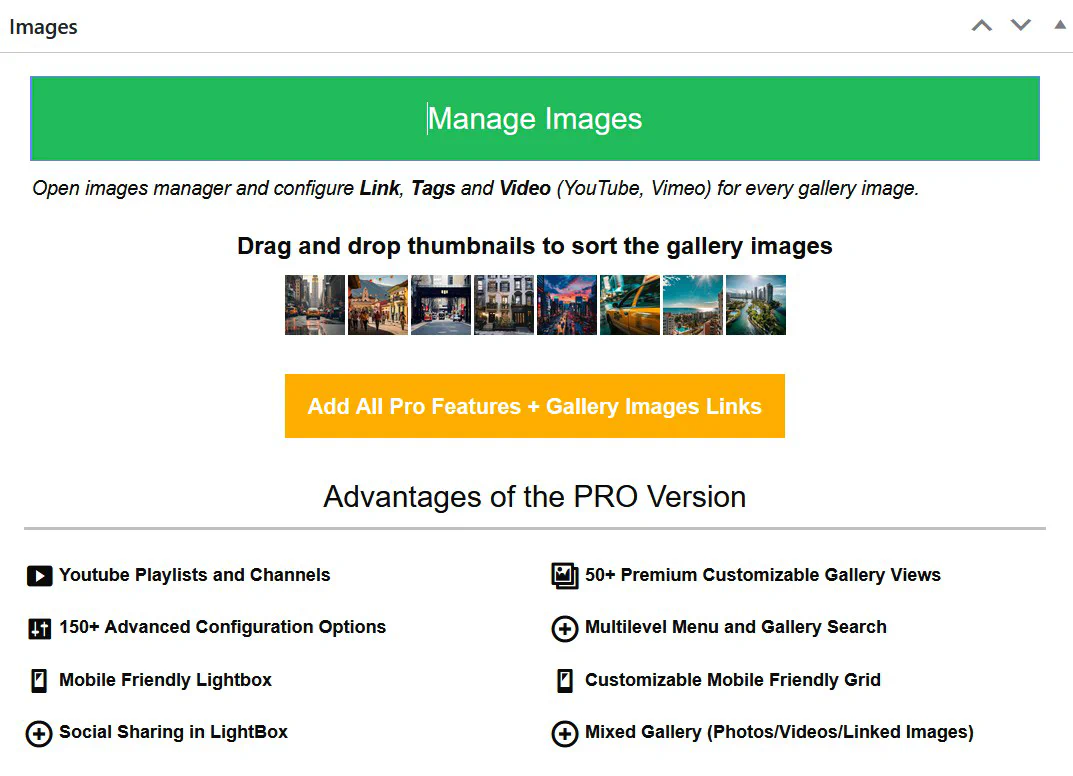
This will open the Media Manager where you can:
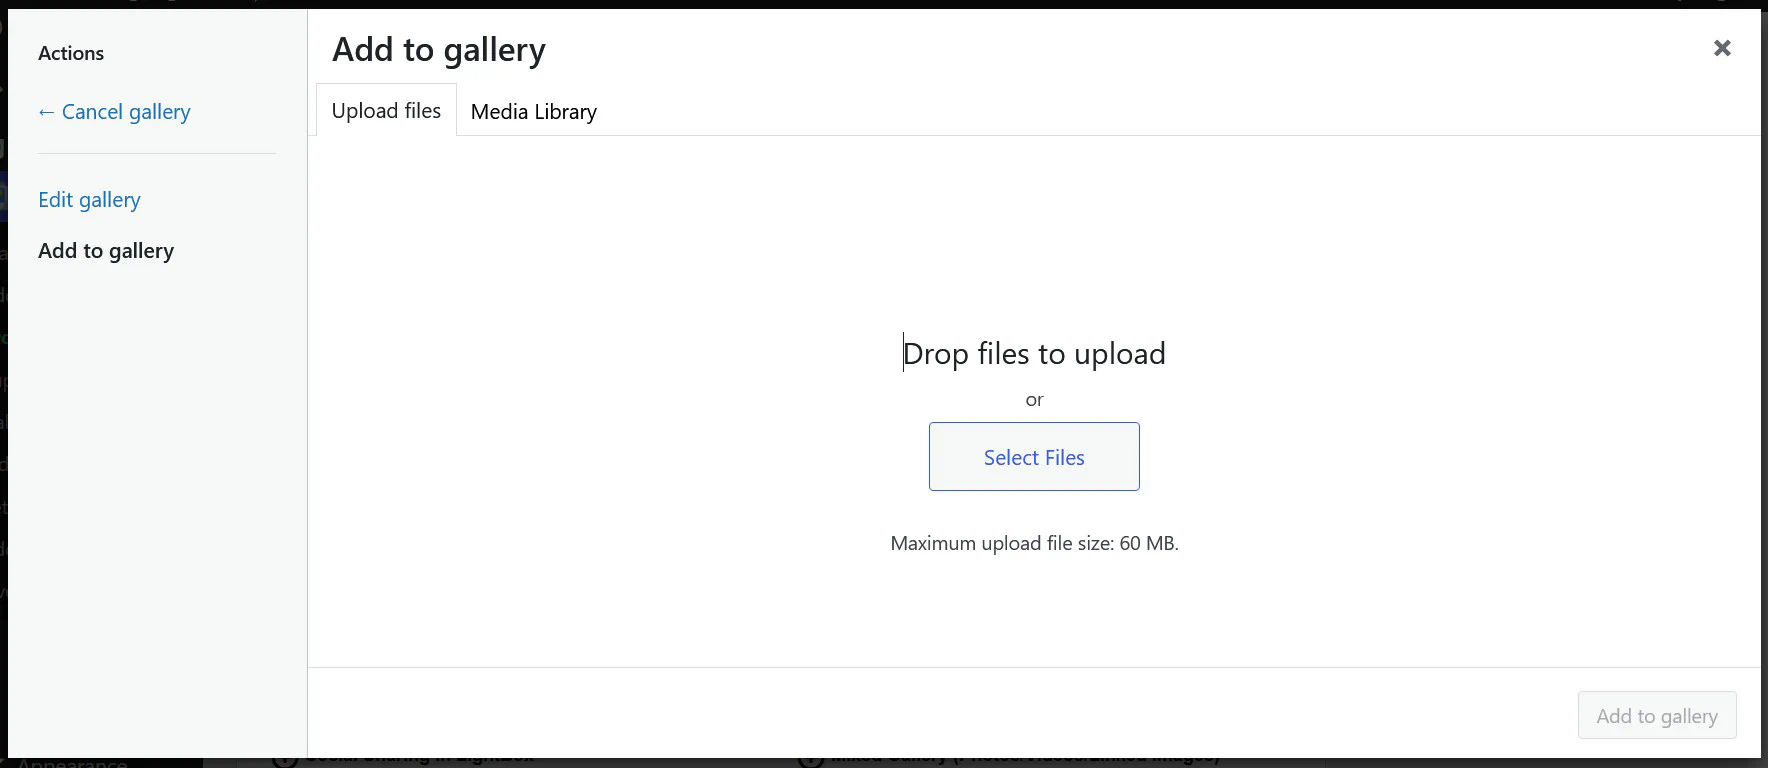
Click the Upload Files tab and drag-and-drop images from your computer or click the Select Files button.
Make sure your images do not exceed the maximum upload size defined in your PHP server configuration.
💡 Tip: For best results, use optimized JPG or WebP files under 2MB.
Switch to the Media Library tab to pick from previously uploaded media files.
Use filters and the search bar to quickly find what you need.
Once selected, click Add to Gallery in the lower right corner.
After selecting your image, you can customize image-specific settings on the right side:
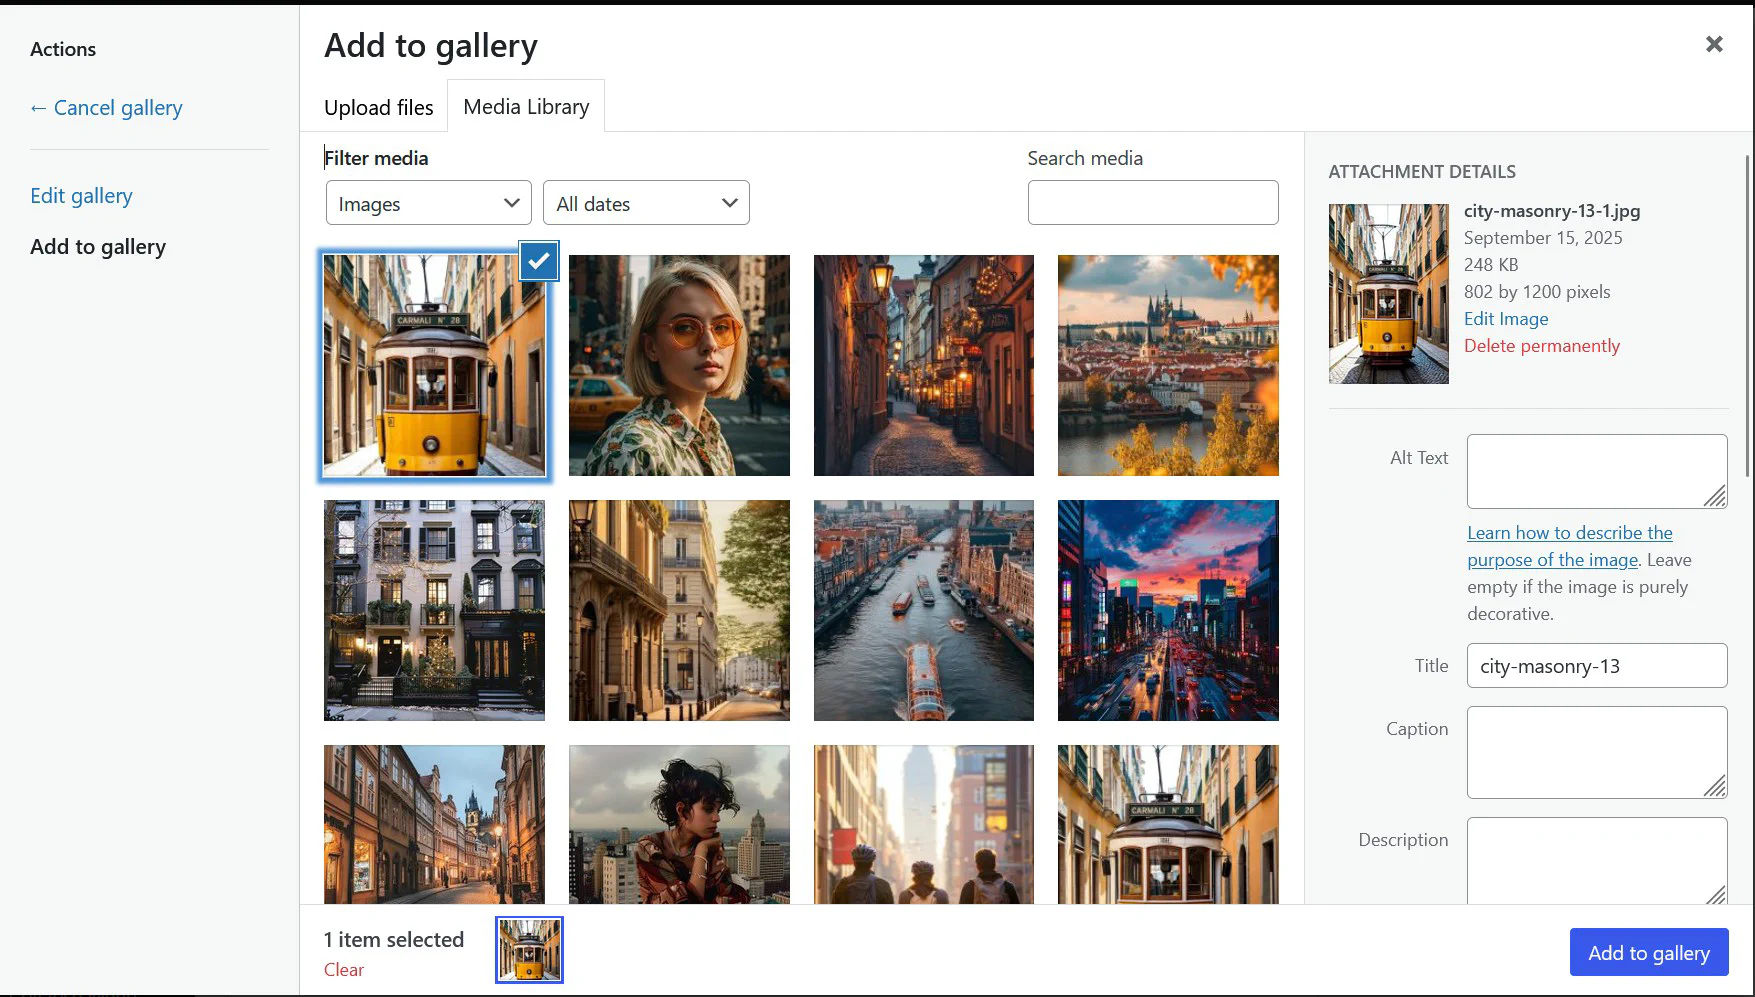
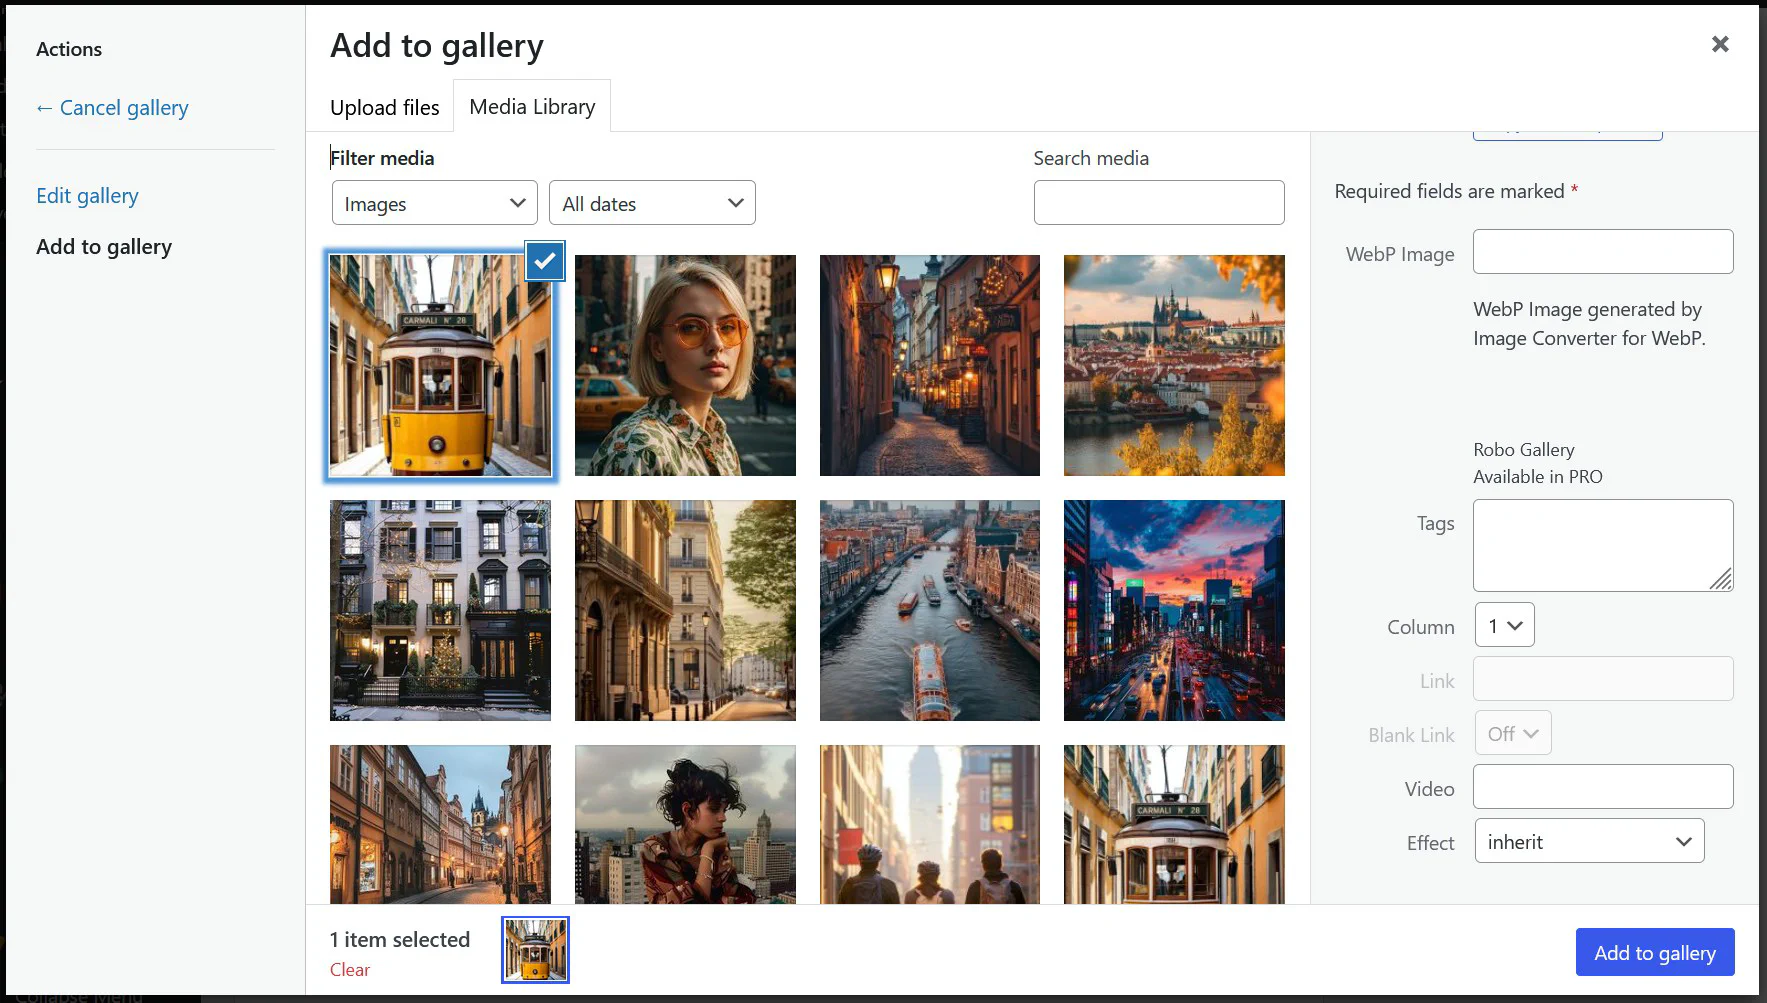
You can define:
ℹ️ Video support and advanced linking options are available in the PRO version.
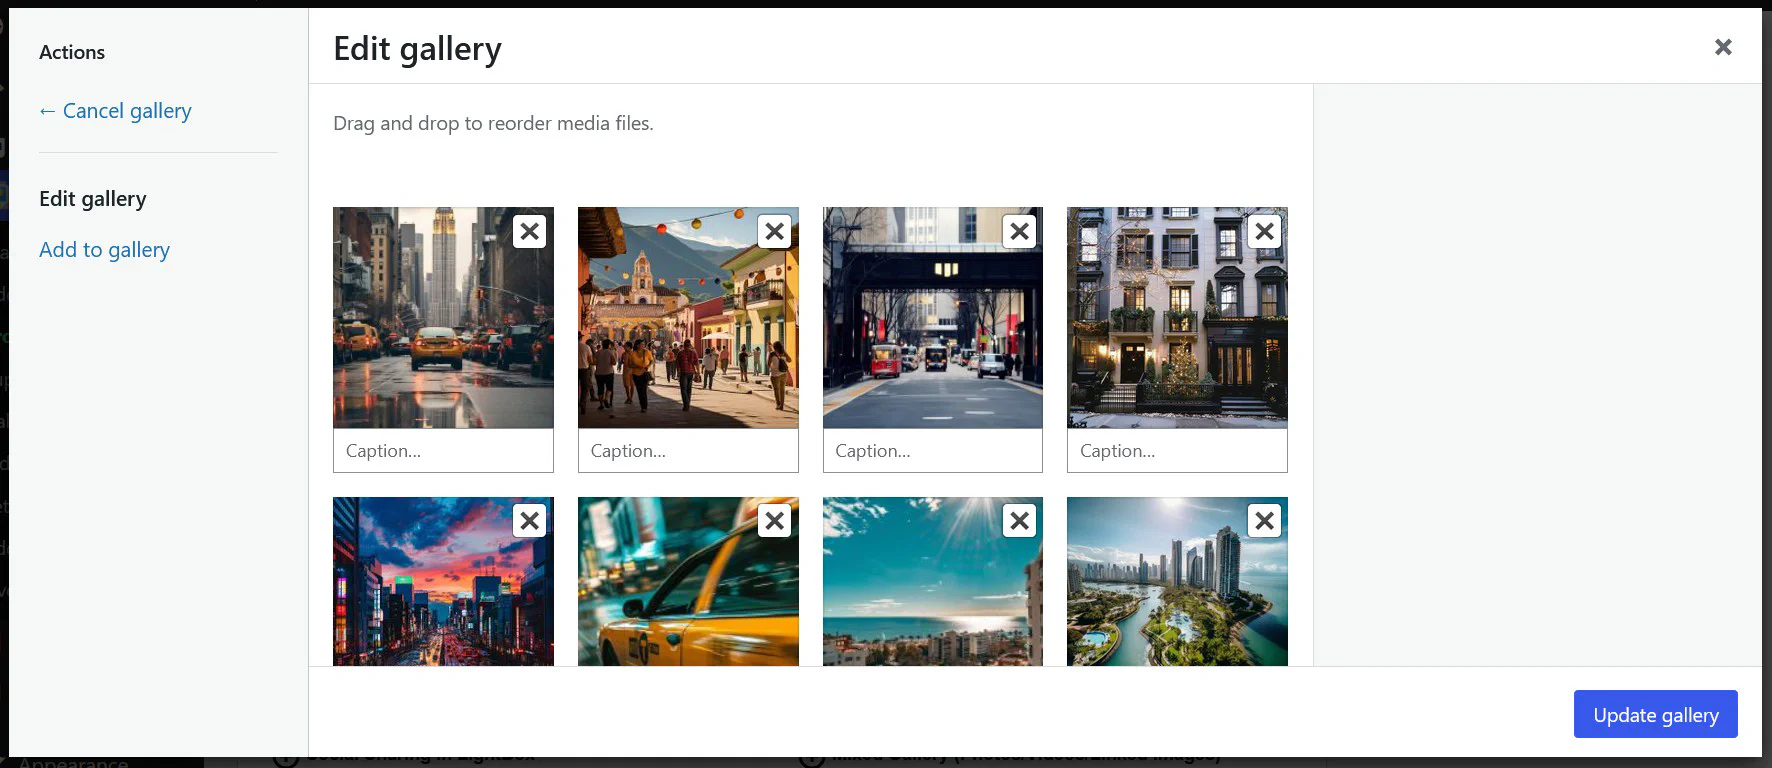
You can always return to the Edit gallery tab to:
After finishing, click the Update Gallery button to save changes.